7 54 6 8
Fall 2018
page 66
®
appears. You will then touch crosshairs on each corner and the center of your screen, which will calibrate your screen to your touch.
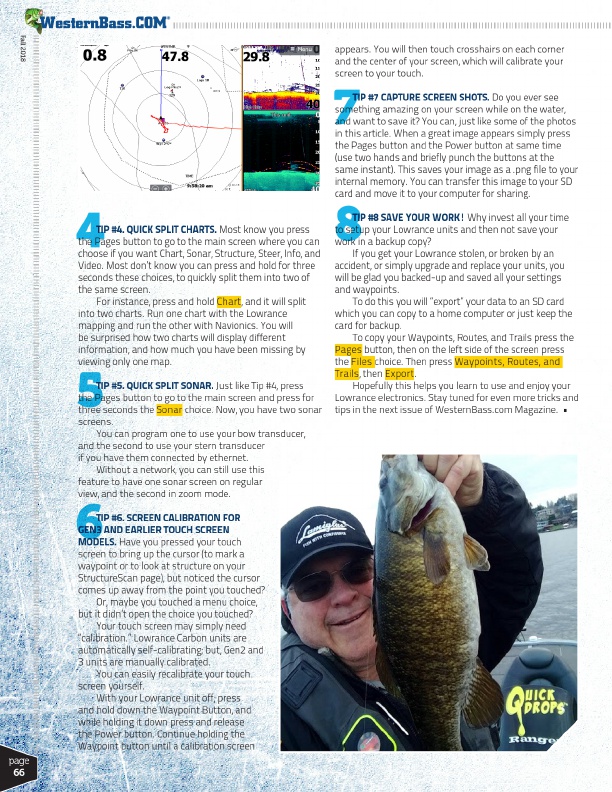
TIP #7 CAPTURE SCREEN SHOTS. Do you ever see something amazing on your screen while on the water, and want to save it? You can, just like some of the photos in this article. When a great image appears simply press the Pages button and the Power button at same time (use two hands and briefly punch the buttons at the same instant). This saves your image as a .png file to your internal memory. You can transfer this image to your SD card and move it to your computer for sharing.
TIP #4. QUICK SPLIT CHARTS. Most know you press the Pages button to go to the main screen where you can choose if you want Chart, Sonar, Structure, Steer, Info, and Video. Most don’t know you can press and hold for three seconds these choices, to quickly split them into two of the same screen.
For instance, press and hold Chart, and it will split into two charts. Run one chart with the Lowrance mapping and run the other with Navionics. You will be surprised how two charts will display different information, and how much you have been missing by viewing only one map.
TIP #5. QUICK SPLIT SONAR. Just like Tip #4, press the Pages button to go to the main screen and press for three seconds the Sonar choice. Now, you have two sonar screens.
You can program one to use your bow transducer, and the second to use your stern transducer if you have them connected by ethernet.
Without a network, you can still use this feature to have one sonar screen on regular view, and the second in zoom mode.
TIP #8 SAVE YOUR WORK! Why invest all your time to setup your Lowrance units and then not save your work in a backup copy?
If you get your Lowrance stolen, or broken by an accident, or simply upgrade and replace your units, you will be glad you backed-up and saved all your settings and waypoints.
To do this you will “export” your data to an SD card which you can copy to a home computer or just keep the card for backup.
To copy your Waypoints, Routes, and Trails press the Pages button, then on the left side of the screen press the Files choice. Then press Waypoints, Routes, and Trails, then Export.
Hopefully this helps you learn to use and enjoy your Lowrance electronics. Stay tuned for even more tricks and tips in the next issue of WesternBass.com Magazine. •
TIP #6. SCREEN CALIBRATION FOR GEN3 AND EARLIER TOUCH SCREEN MODELS. Have you pressed your touch screen to bring up the cursor (to mark a waypoint or to look at structure on your StructureScan page), but noticed the cursor comes up away from the point you touched?
Or, maybe you touched a menu choice, but it didn’t open the choice you touched?
Your touch screen may simply need “calibration.” Lowrance Carbon units are automatically self-calibrating; but, Gen2 and 3 units are manually calibrated.
You can easily recalibrate your touch screen yourself.
With your Lowrance unit off, press and hold down the Waypoint Button, and while holding it down press and release the Power button. Continue holding the Waypoint button until a calibration screen