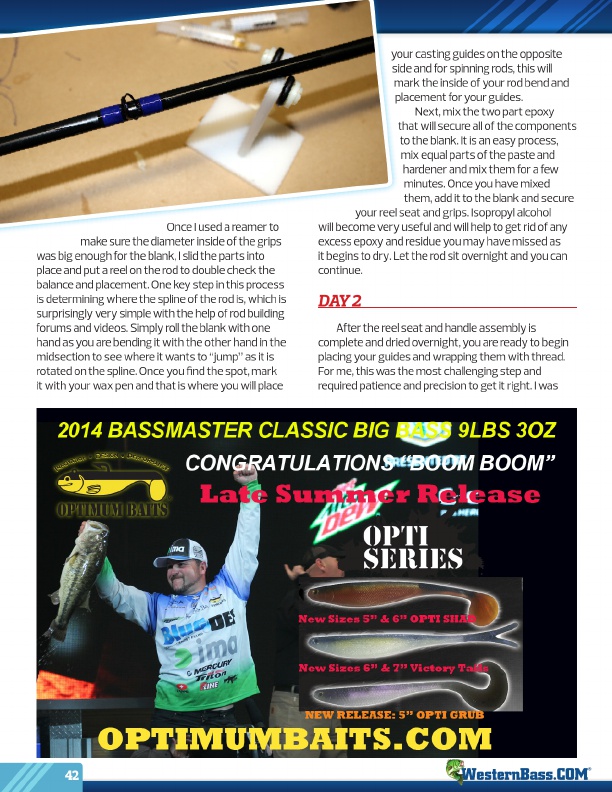
Once I used a reamer to
make sure the diameter inside of the grips was big enough for the blank, I slid the parts into place and put a reel on the rod to double check the balance and placement. One key step in this process is determining where the spline of the rod is, which is surprisingly very simple with the help of rod building forums and videos. Simply roll the blank with one hand as you are bending it with the other hand in the midsection to see where it wants to “jump” as it is rotated on the spline. Once you find the spot, mark it with your wax pen and that is where you will place
your casting guides on the opposite
side and for spinning rods, this will
mark the inside of your rod bend and
placement for your guides.
Next, mix the two part epoxy
that will secure all of the components
to the blank. It is an easy process,
mix equal parts of the paste and
hardener and mix them for a few
minutes. Once you have mixed
them, add it to the blank and secure
your reel seat and grips. Isopropyl alcohol will become very useful and will help to get rid of any excess epoxy and residue you may have missed as it begins to dry. Let the rod sit overnight and you can continue.
DAY 2
After the reel seat and handle assembly is complete and dried overnight, you are ready to begin placing your guides and wrapping them with thread. For me, this was the most challenging step and required patience and precision to get it right. I was
42 ®
http://optimumbaits.com/