®
Spring 2023
page 38
The principle here is to make a PVC container with two chambers. The lower chamber has the air tube from the air pump inserted.
The upper chamber holds the powder paint, and in between is a piece of paper. The paper acts as a filter or air diffuser. When the pump is on, low-pressure air is evenly forced through the paper and suspends the powder paint into a cloud. You will see the powder moving in the chamber making it appear to be a “fluid” hence the name fluid bed. A jig can then be quickly dipped into the fluidized powder for an even and thin coating that yields professional results.
The primary part to buy at the hardware store is called a 2” PVC Solvent Union. Also get a 2” flat cap to use as a base (and keeps air from escaping the lower chamber), and a 3.5” length of Schedule 40 PVC pipe to insert in the top half of the solvent union for your upper paint chamber. Add a 2” Test Cap to keep moisture out of the powder paint between uses.
Fully press the flat cap into the base of the solvent union, and the 3.5” pipe into the top half of the solvent union. Stepping on the solvent union will ensure both the base and paint chamber will be fully inserted into the union (no glue needed).
Drill a hole in the side of the lower chamber (through both the Solvent Union and the flat base cap) with a drill bit sized the same as your aquarium airline. Insert the airline through the hole to the center of the chamber and cement it in place with a silicone adhesive.
Trace the outer diameter of the upper half of the solvent union on a piece of 20-lb weight copy paper, or use a brown paper lunch bag, cut the paper disc, and insert it over the rubber gasket in the solvent union. When the solvent union is screwed together tightly the paper will separate the paint from the air chamber. Now add the powder paint to the upper chamber. Another part needed is an aquarium valve that will let you adjust the air flow from the aquarium pump. It is placed in line anywhere convenient between the pump and the fluid bed. Use any aquarium pump available where aquarium supplies are sold. Pump size is not important unless you expand to multiple fluid beds.
FLUID BED OPERATION
Before using the fluid bed, turn off the airflow adjustment valve and keep the test cap in place. Then turn on the air pump and loosen the test cap, and slowly turn up the airflow until you see the column of powder paint rise about an inch in the upper chamber. The first time you try this you will likely get a geyser or two of powder paint overflowing the chamber. Turn down the airflow and stir the powder with a popsicle stick or spoon until you see the powder moving without eruptions. Now it is ready for use.
A pair of locking hemostats are ideal for holding jigs when dipping them into the fluid bed. Grasp the bend of the hook with the hemostats and hold it in front of a heat gun to warm the lead. I use a paint stripper heat gun and hold the jig closely in front of it for about 15 seconds, evenly heating all sides of the lead to be coated.
I then put a small piece of heat shrink tubing over the eye of the hook and heat it with the same heat gun, so it shrinks and stays on the hook eye. Then dip the entire jig head into the
fluid bed paint, tap the hemostats on the edge of the upper paint chamber to shake off excess powder, and then place the jig on a rack to cool. At any point after cooling (and before baking) use needle nose pliers to grasp the heat shrink and rock it off the eye of the hook. I bought an inexpensive roll of 1/8th inch diameter heat shrink tubing on Amazon which will last for years and precut it into short pieces about 3/16” long to place over the hook eye. This keeps the eye from getting clogged with paint and prevents line-cutting sharp edges created by removing hard paint from the eye.
BAKING
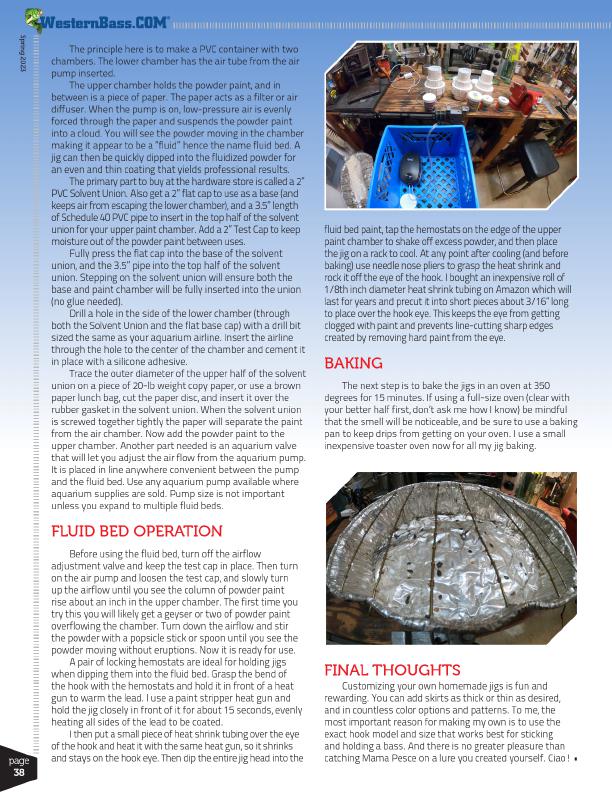
The next step is to bake the jigs in an oven at 350 degrees for 15 minutes. If using a full-size oven (clear with your better half first, don’t ask me how I know) be mindful that the smell will be noticeable, and be sure to use a baking pan to keep drips from getting on your oven. I use a small inexpensive toaster oven now for all my jig baking.
FINAL THOUGHTS
Customizing your own homemade jigs is fun and rewarding. You can add skirts as thick or thin as desired, and in countless color options and patterns. To me, the most important reason for making my own is to use the exact hook model and size that works best for sticking and holding a bass. And there is no greater pleasure than catching Mama Pesce on a lure you created yourself. Ciao! •